Jupyter Notebook on Clusters with Slurm
Published:
Working with Jupyter Notebook Environment on Clusters with Slurm
Greetings. In this tutorial, I’m going to show basically how to submit a Jupyter Notebook job on a cluster working with Slurm.
Slurm
Slurm is a workload manager for clusters. It is designed for clusters that has multiple users with many tasks to work without any problems. Usually, there is a login node for accessing files and other operations. Nodes are different servers that are gathered in a cluster. Users who want to use the cluster submit a job in order to do various things. Jobs might contain basically anything that one wants to do on a computer; but it mostly used for making configurations and running experiments. Experiments run on a selected or randomly assigned node, each node might contain different harware specifications.
Since many users are on the cluster at the same time, there might be several problems while using the cluster.
- One user might use all the hardware available.
- There might be tremendous amounts of experiments that running at same time which cluster hardware might not handle.
- Having large amounts of users in a system might create complications if there is no control mechanism.
Workload managers are designed for these purposes. Basically users submit jobs using a script which has different configuration options. Other than configuration parameters, a job is run by running bash commands in order. An example job script is given below.
#!/bin/bash
#
#SBATCH --job-name=Test
#SBATCH --nodes=1
#SBATCH --ntasks-per-node=1
#SBATCH --partition=short
#SBATCH --time=1-0
#SBATCH --output=test-%j.out
#SBATCH --mail-type=ALL
# #SBATCH --mail-user=foo@bar.com


################################################################################
##################### !!! DO NOT EDIT BELOW THIS LINE !!! ######################
################################################################################

## Load Python 3.6.3
echo "Activating Python 3.6.3..."
module load python/3.6.1

## Load GCC-7.2.1
echo "Activating GCC-7.2.1..."
module load gcc/7.2.1

echo ""
echo "======================================================================================"
env
echo "======================================================================================"
echo ""

# Set stack size to unlimited
echo "Setting stack size to unlimited..."
ulimit -s unlimited
ulimit -l unlimited
ulimit -a
echo

echo "Running Example Job...!"
echo "==============================================================================="
# Command 1 for matrix
echo "Running Python script..."
# Put Python script command below

# Command 2 for matrix
echo "Running G++ compiler..."
# Put g++ compiler command below

# Command 3 for matrix
echo "Running compiled binary..."
# Put compiled binary command below
Lines starting with # SBATCH are configuration parameters for Slurm. Other lines are bash commands. A job is being created by submitting it into Slurm. After that, Slurm takes the job and adds it to its queue. It runs the job whenever available. There are many tutorials about Slurm on the internet.
To run experiments, we will submit a Jupyter notebook job on the cluster.
Jupyter Notebook
To create a Jupyter notebook on the cluster, we need to submit a Jupyter Notebook job. Jobscript can be found by the jobscripts that supplied by IT.
After obtaining the script, run the following command: sbatch jupyter_submit.sh
There will be a log file in the same directory as jobscript. At the end of it, you should see the output:
====================================================================================
 For more info and how to connect from windows,
   see ---

 Here is the MobaXterm info:

Forwarded port:same as remote port
Remote server: be01
Remote port: 6430
SSH server: clusteraddress.com
SSH login:
SSH port: 22

====================================================================================
 MacOS or linux terminal command to create your ssh tunnel on your local machine:

ssh -N -L 6430:nodeId:6430 user@clusteraddress.com
====================================================================================

WAIT 1 MINUTE, WILL BE CONNECT ADDRESS APPEARS!


[W 22:22:55.449 NotebookApp] WARNING: The notebook server is listening on all IP addresses and not using encryption. This is not recommended.
[I 22:22:55.586 NotebookApp] JupyterLab beta preview extension loaded from ---
[I 22:22:55.586 NotebookApp] JupyterLab application directory is ---
[I 22:22:55.615 NotebookApp] Serving notebooks from local directory: ---
[I 22:22:55.615 NotebookApp] 0 active kernels
[I 22:22:55.616 NotebookApp] The Jupyter Notebook is running at:
[I 22:22:55.616 NotebookApp] http://[all ip addresses on your system]:6430/?token=---------------------------------------------
[I 22:22:55.617 NotebookApp] Use Control-C to stop this server and shut down all kernels (twice to skip confirmation).
[C 22:22:55.776 NotebookApp]

    Copy/paste this URL into your browser when you connect for the first time,
    to login with a token:
        http://localhost:6430/?token=---------------------------------------------
Some of the output is omitted because of security reasons. This output shows that there is a running Jupyter notebook on one of the cluster nodes. What we need to do is to connect our local computer to the cluster to reach the notebook. To achieve that, we need to copy the line ssh -N -L 6430:nodeId:6430 user@clusteraddress.com and paste it to a terminal/cmd depending on your OS. Basically we need to make an SSH Tunneling to bind client computer’s port to cluster node’s port. That way, when we try to reach the same port in our computer, we will automatically directed to the cluster node and obtain the Jupyter notebook. You should not expect any output from the command, but it needs to stay uninterrupted.
While SSH-Tunneling command is on run, you can access Jupyter notebook. It uses tokens for security reasons. To achieve the notebook successfully, copy and paste the following address to a browser from the log output: http://localhost:6430/?token=--------------------------------------------- Address without a token would still open the notebook but you will not be able to pass the login screen.
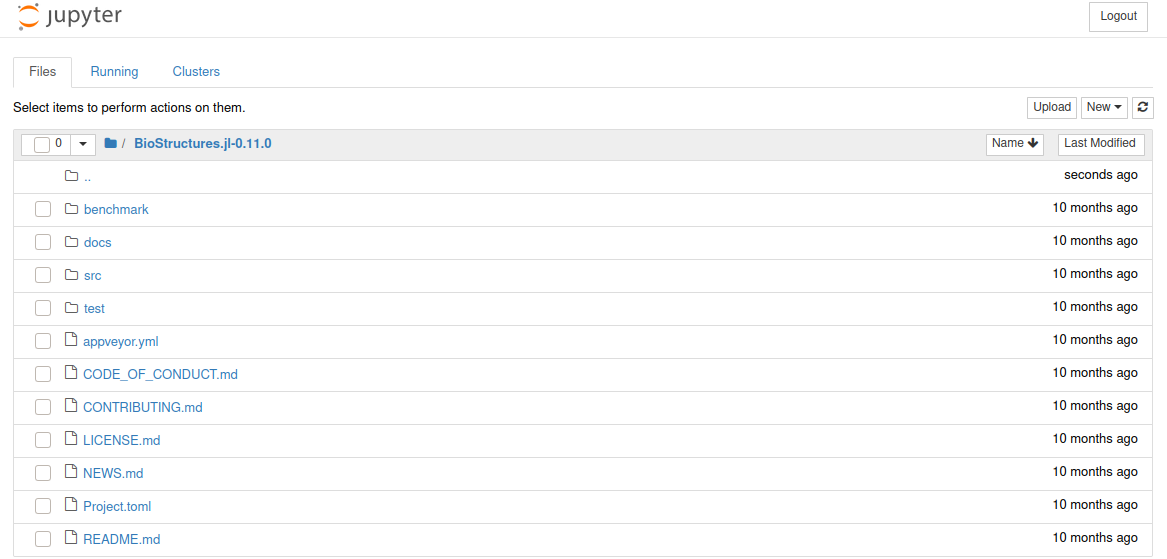
If everything goes smoothly, you will see the screen below: 
